The Most Overlooked Dos and Don’ts When Using a Surface-Mounted XL Projector Screen
When people buy a projector, they often get excited about brightness, picture quality, and brand names. But what many don’t realize is this—your screen matters just as much, if not more.
If you’re using a surface-mounted XL Projector Screen, you’ve already made a smart move. But to get the best results, there are a few essential things you should do—and a few things you should avoid.
Do: Choose the Right Size for Your Room
Bigger is not always better. The XL Projector Screen can go up to 18 feet wide, making it ideal for large rooms. But make sure the size matches your room and viewing distance. Too big in a small space? Not ideal.
Example: A screen with an 87.5″ × 140″ image size will need a case around 169″ long. Always measure before you buy.
Don’t: Install It Without Checking Wall Strength
The screen might look slim with case dimensions around 9-1/4″ high and 8-1/8″ deep, but it’s not light. If you’re mounting it on drywall or a weak ceiling, that’s a problem.
Use the floating wall brackets or ceiling brackets that come with the screen. They can hold the weight properly.
Do: Keep the Screen Flat
This screen uses a tab-tension system. That means it pulls the screen tight from both sides to keep it smooth—no wrinkles, no waves. It’s beneficial for 8K and high-resolution projectors.
Just make sure the tension is working right over time. If you see any loosening, get it checked.
Don’t: Let Dust Build Up Inside the Case
The XL model has a removable fascia. That’s the front cover. It opens easily, so you can check inside or clean it if needed. Don’t let dirt or dust sit in there for years. It’ll mess with the motor.
Open the fascia now and then and give it a quick clean (after turning off the power, of course).
Do: Use the Built-in Wall Switch
This screen comes with a built-in low-voltage controller and wall switch. That means you don’t have to buy extra parts to control it.
If you want more control options, there are motor upgrades available too—great for connecting with innovative systems or AV controls.
Don’t: Ignore the Black Drop
This screen has a 12-inch black drop at the top. Sounds simple, but it’s super helpful. It lets you lower the screen to the right viewing height without messing with the image.
Tip: If you mount too high without using the drop, viewers might strain their necks.
Do: Pick the Right Viewing Surface
This screen works with Draper’s TecVision surfaces—which means you can choose based on room lighting, projector strength, and the type of content you’re showing.
You can also get rear-projection surfaces if needed. Just ask the supplier. They often provide free samples so you can test them.
Don’t: Forget About After-Sales Help
Many people set up the screen and think the job’s done. But sometimes, things go wrong later—maybe the motor stops, or something doesn’t feel right.
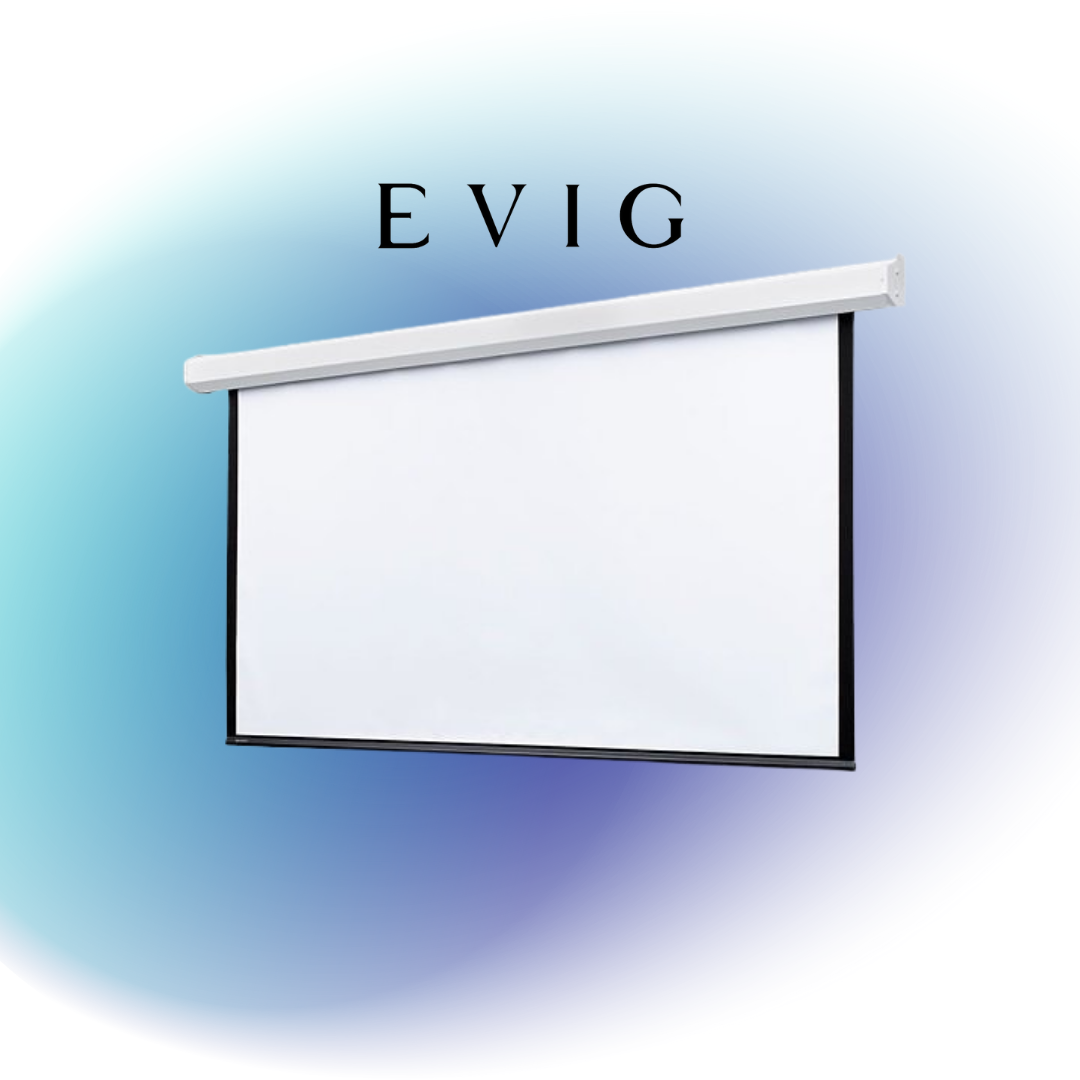
That’s why it’s smart to buy from someone who offers proper support. If you’re in Dubai, Evig, audio visual equipment supplier, Dubai, is the go-to. They don’t just sell the screen—they help you before and after the sale.
Need to ask a question? Want help with service? Need a part replaced? You can reach out to them easily. It’s way better than trying to figure things out alone or dealing with overseas sellers.
Do: Talk to the Right Supplier
If you’re in Dubai or the GCC, don’t waste time hunting online or ordering from random sellers. Just reach out to Evig.
Evig is an official Draper partner, and they know this product inside out. They can help with:
- Choosing the right screen size
- Picking the right surface
- Setting up the mount
- Fast delivery in Dubai or nearby
Final Thoughts
Getting a good projector is only half the job. To enjoy clear, sharp, and smooth images, your screen setup needs to be right.
Using a surface-mounted XL Projector Screen the right way will make a big difference in how your content looks and feels.
Follow these simple dos and don’ts, and your screen will keep performing well for years to come.